


There is also a Bookings Tab in each Project, Subproject and Task which shows a list of the linked Bookings.

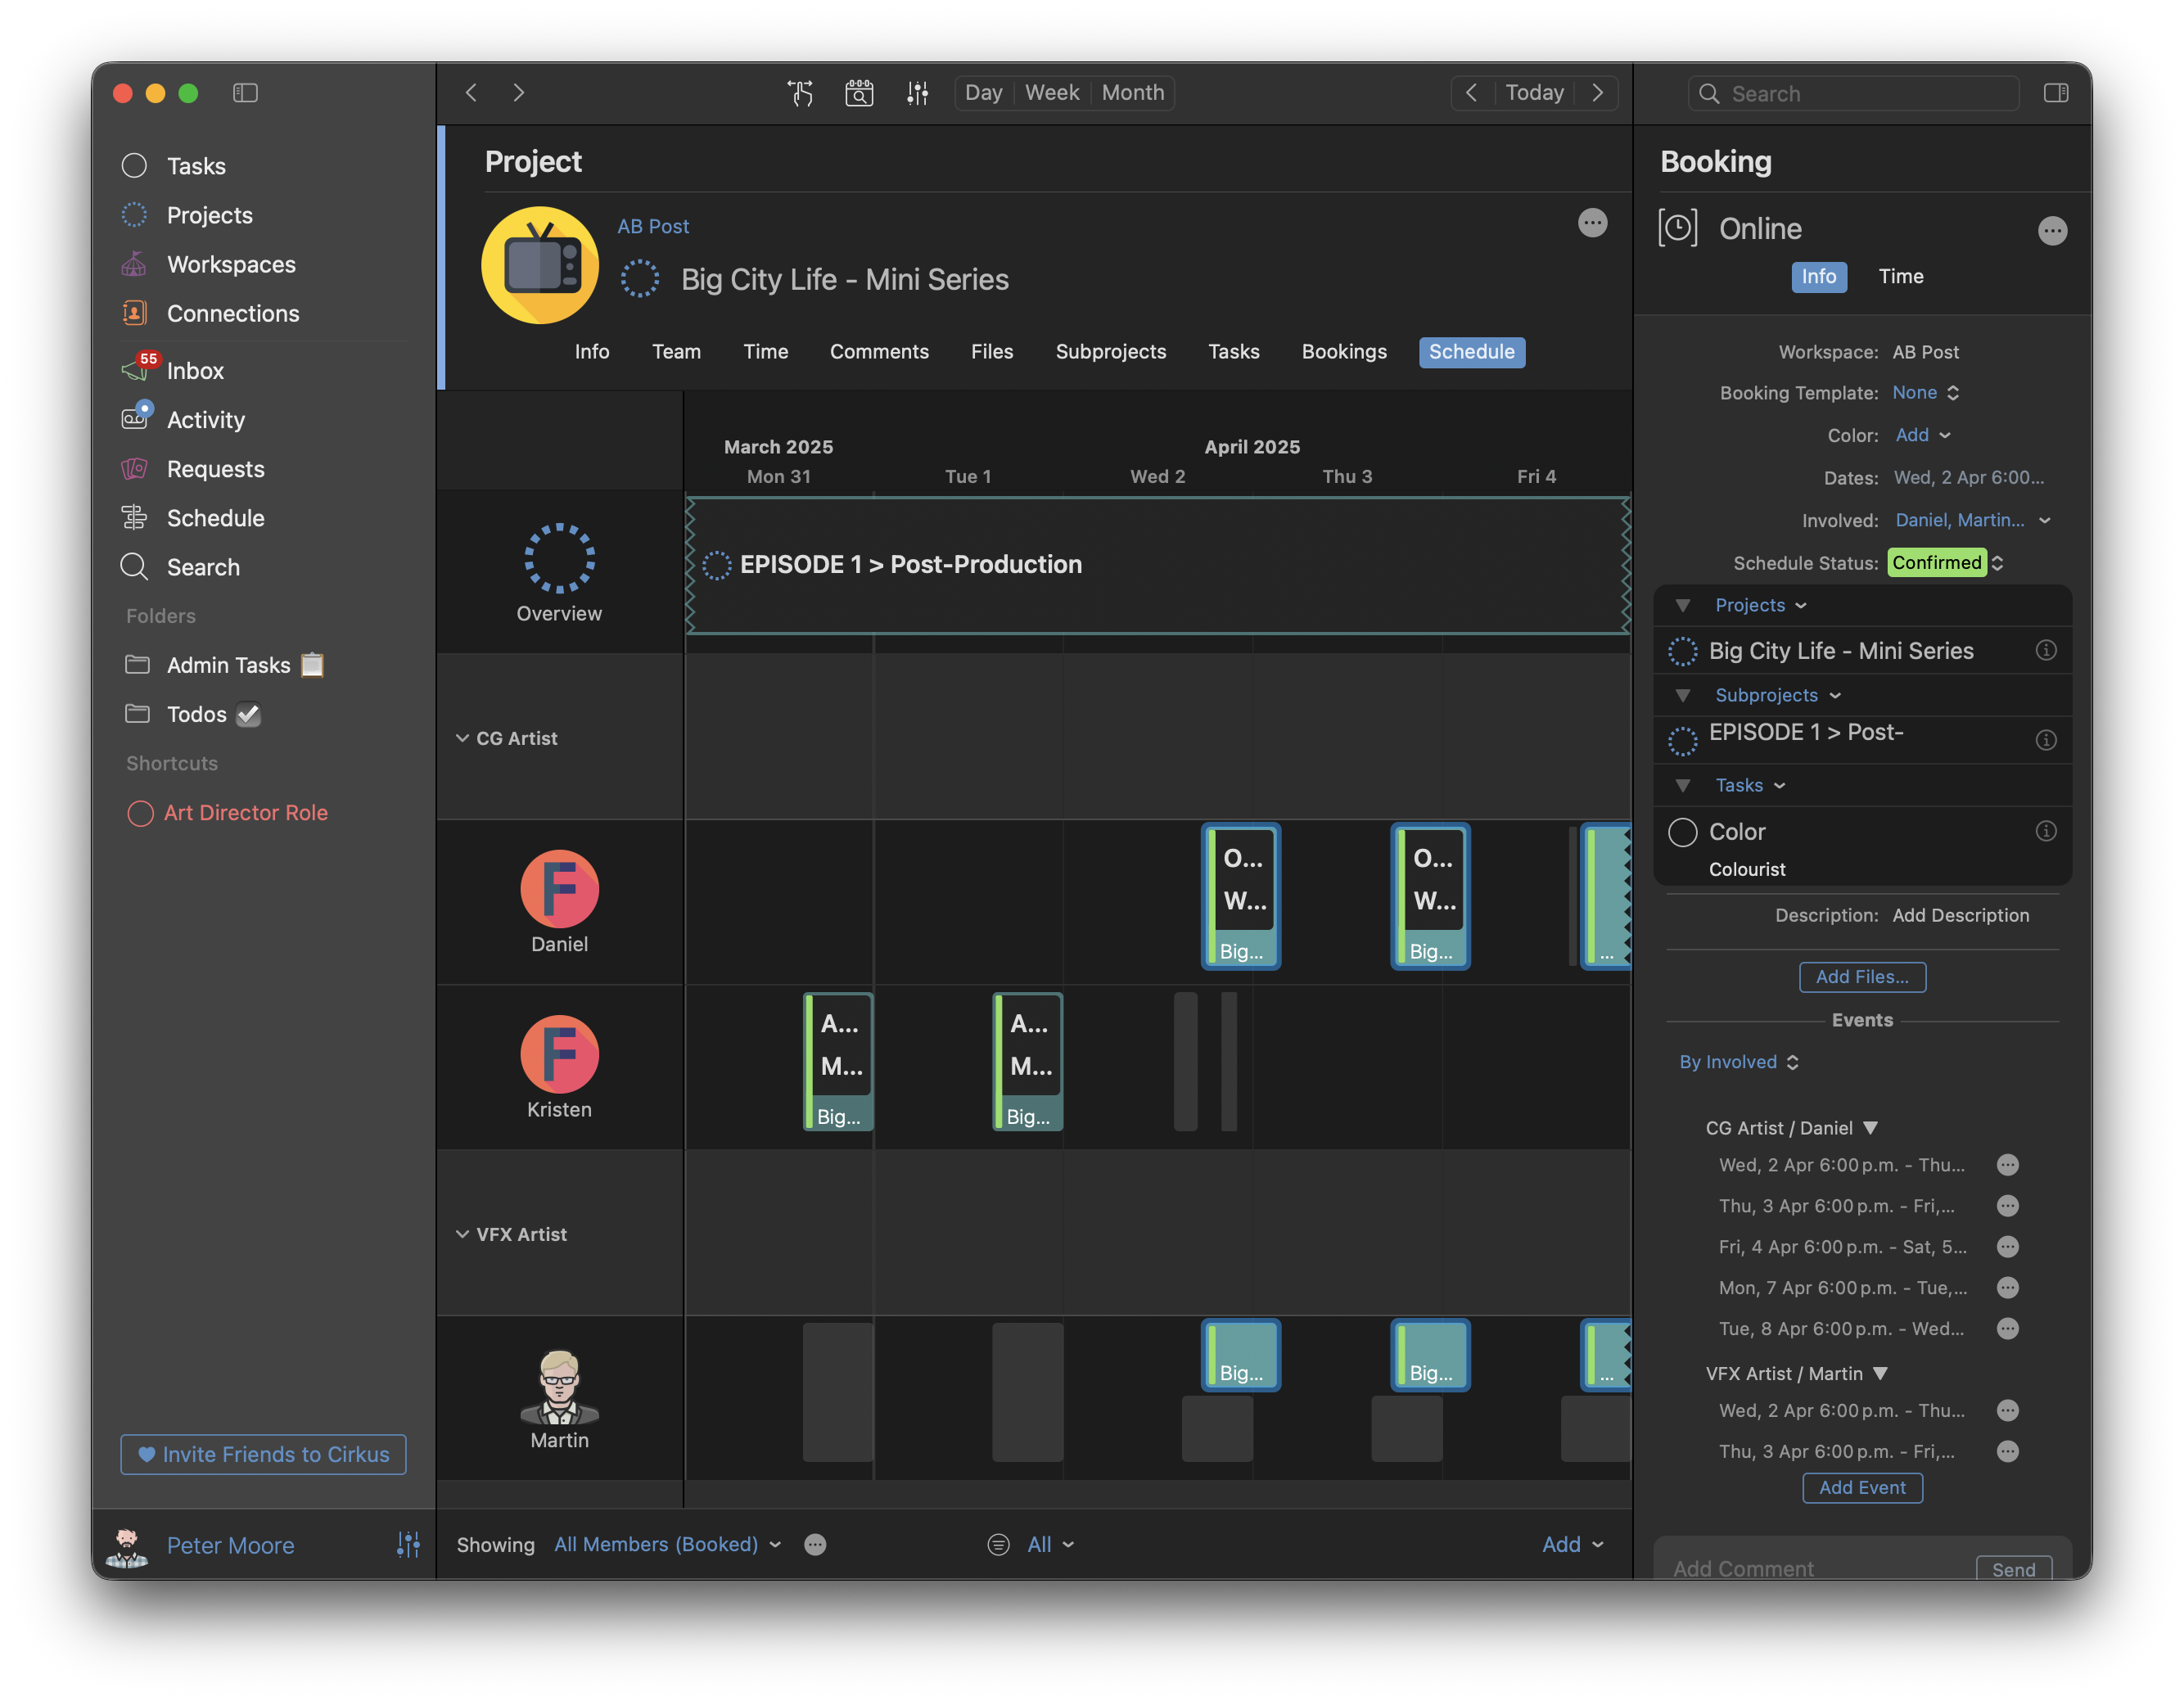
Schedule Tab
If Scheduling is enabled in the Workspace in each Project there is a Schedule tab which shows all the Bookings and Scheduled Tasks of that project.
- Bookings from other projects show as a grey box
- Personnel Bookings such as Vacation and Illness show in this view as well.
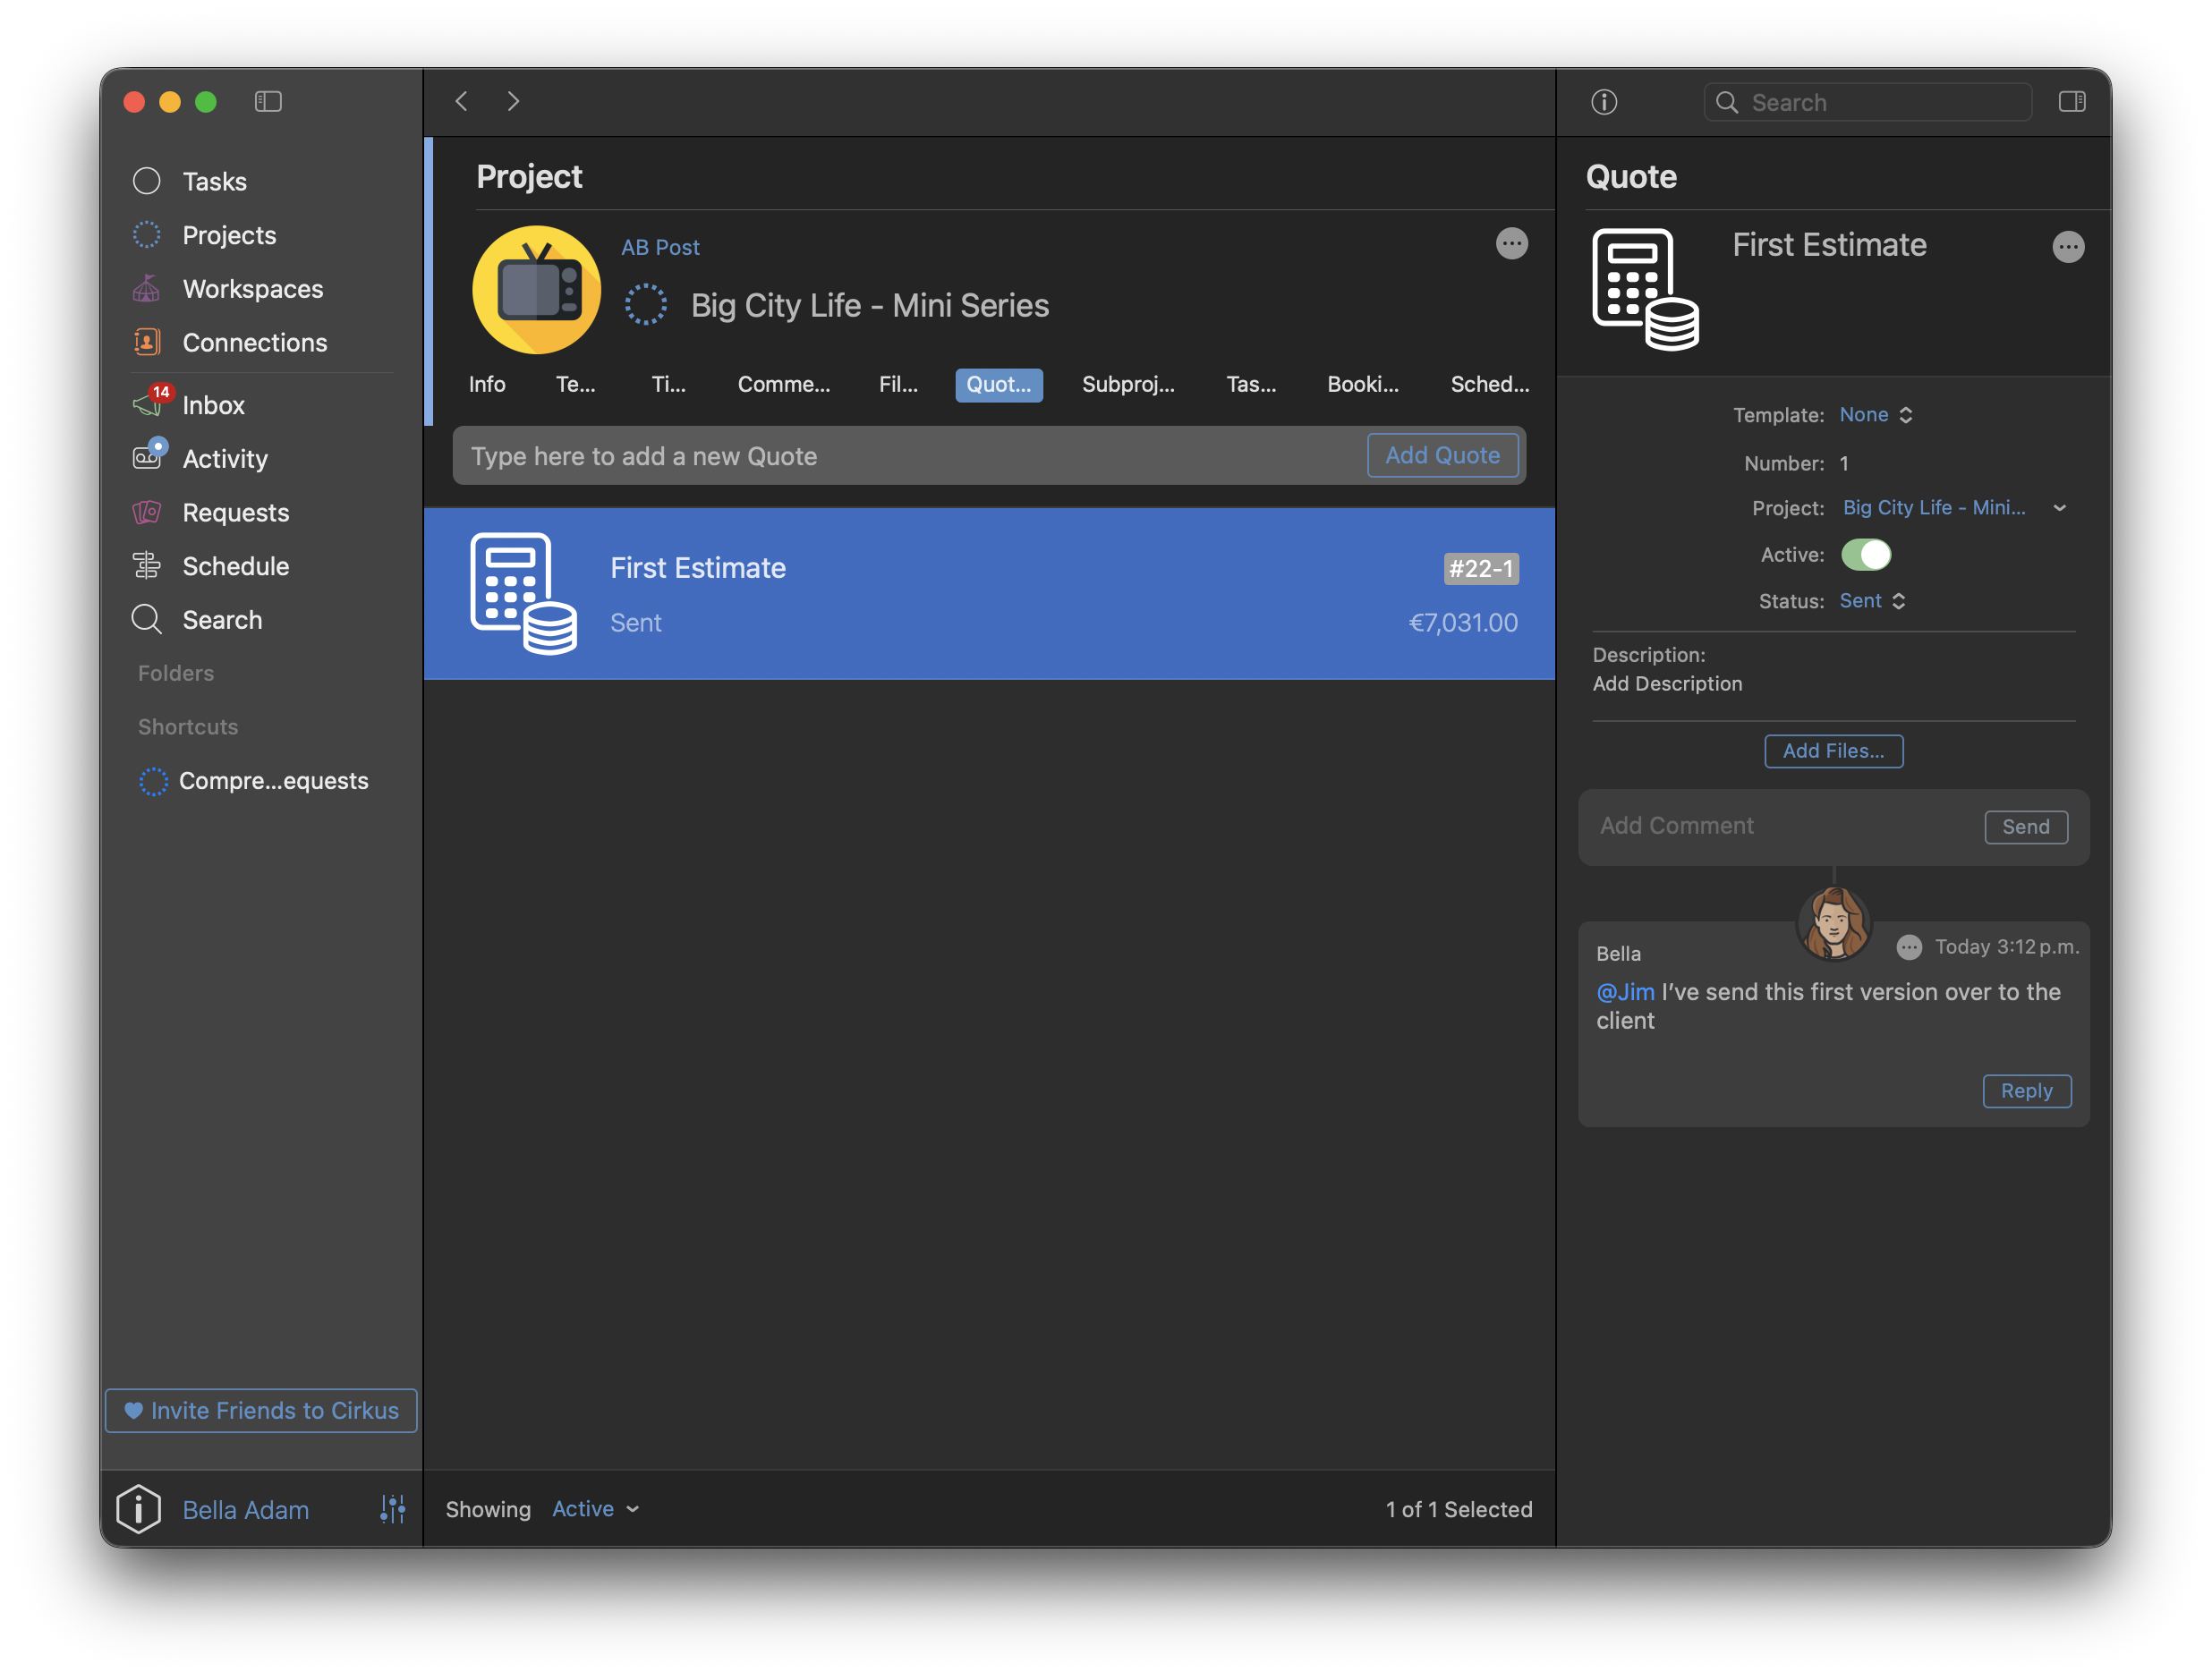
Quotes Tab
If you have Quoting permissions you will also see a Quotes tab, where the Quotes of the Project can be built and edited.
Quotes and Rates Require Business Tier licenses
Add New Project from Existing
A great way to save time during project creation when your workflow requires creating several projects with the same fields, is to create a new project from an existing one.
To do this, go to the projects list and right click on a project or subproject you would like to create a new project from. From the drop-down menu, choose 'Add New Project From'.
On Cirkus web this it in the Edit > More Actions menu

This will present a new project sheet where you can rename your new project which will include all fields, tasks and subprojects of the original project you've chosen to create a copy from.
Bulk actions in the Project list
It’s also possible to select multiple Projects and take the following actions
- Toggle Star
- Close
- Apply Project Template (web only)
- Join or Leave (web only)
- Remove (web only)

Project/Subproject Filtering, Sorting and Grouping
When working with your Projects /Subproject list, you have several options available to configure which Projects show and the order in which they appear.
There are two main settings - Filtering, which defines which Projects show in the list, Group & Sort, which define how those Projects will be shown.
Filter, Sort and Group Menus
You can access all the sorting and filtering Options for the projects and subprojects lists in the bottom of the view.
This applies to the main Projects list, Workspace > Projects, Projects > Subprojects and in the Project Template views.
Main Project List:
Workspace > Projects List: In Projects > Subprojects tab
Filter Options
In each view click on the filter menu to see the available options.
-Open: Projects/Subprojects which are open currently being worked on.
-Closed: Projects/Subprojects which have been closed and no longer active.
-Removed: Projects/Subprojects which have been removed (and not yet permanently deleted).
-Pending Approval: Projects which are pending an approval from a designated approver.
Sort and Group Options
In the right side of the projects footer are the Sort and Group options.

Default Sort and Group Options:
- By Manual Order: This is the order that is shared with all users, it is the order of Projects within a Workspace which is shared with all users, or the order of Subprojects in a Project.
- By Name: Groups Projects with the same Workspace together, and Sorts Projects in each section alphabetically a->z.
- By Due Date: Groups Projects with the same Due Date together, and within each section they are sorted by Due Date/Time earlier to later.
- By Custom Field - Groups Projects by the value of a Custom Field i.e client name, file type, custom priority. Projects with the same Custom Field value are grouped together, Projects in each section are ordered alphabetically a->z.
The available sorting and grouping can depend on the filter selected, for example in the Removed or Canceled filter it is not possible to apply the sorting and grouping, these are always grouped by Removed/Canceled date.
Advanced Sort and Group Options:
In the "Change.." you can access Advanced Options and decide on different Grouping and Sorting for your workflow.

Example 1: Group by Custom Field (Air Date), Sort by Name

 Example 2: Group by Due Date, Sort by Custom Field (Air Date)
Note that the Sorted criteria (Custom Field value), will always show in the Project cell.


Starred Projects
You can also ⭐️Star Projects and they will be pinned to the top of the main Projects list regardless of the applied filter.
You can toggle the star, in the Project cell, on the Project header. or select multiple Projects and right click to Toggle Star on mac.
Note that these Projects only appear in the Starred Items section in the Projects list, they are not duplicated in the original position. Starred Projects will not be pinned to the top of the Workspace > Projects or Projects > Subprojects tab.
 Creating a project on your iPhone or iPad (iOS App)
You can create new projects by using your iPhone. Tap on Projects on the left main Cirkus menu and tap on "Add Project".
Then, fill in all necessary details and tap Done.
Once your project is created, tap on its name to access the project details and continue with adding members, roles, and tasks.
You can apply a project template from the "New Project" screen. Tap the "Add Project Template" option and select one of your pre-configured templates. To learn more about the project templates feature click here.
